5 methods of measuring the hardness of materials and their technical differences
The hardness of a material is defined as the resistance of a particular material to local plastic deformation or indentation. The term can also be used to describe the resistance of a material to scratching, abrasion, or cutting. As far as metals are concerned, hardness is most often used to assess their ability to resist permanent deformation caused by concentrated application of loads. The higher the hardness of the metal, the stronger its ability to maintain its shape under the action of external forces.
The hardness of a metal depends to a large extent on other parameters such as stiffness, strength, strain, ductility and yield strength. Knowing the hardness of metals is very useful because it helps to choose the right material for a specific application. Knowing the hardness of a metal in advance helps to assess whether the metal is easy to be processed or behaves in operation.
Hardness test method
Unlike other well-defined material properties, there is no standard scale for measuring hardness. There are various test methods for materials, and each test method uses its own arbitrarily defined scale to indicate hardness. In this article, we will explore the five most common test methods for measuring the hardness of materials, how they are different, and under what circumstances are they most suitable.
Brinell hardness test
The Brinell hardness test needs to measure the diameter of the indentation caused by a constant concentrated force applied by a steel or cemented carbide spherical indenter to the sample. The steel ball indenter first contacts the material, and then applies a constant force and maintains it for a period of 10 to 15 seconds, which is called the residence time. After the residence time is over, take out the spherical indenter, leaving a circular indentation on the sample.
Brinell hardness is calculated using the following formula:
Brinell hardness, HB = applied test force (kg force) ÷ indentation surface area (mm2).
This hardness test method is the widest and deepest indentation among the five test methods mentioned in this article. It can be tested on a larger surface area of the sample. This can provide an average hardness test on a larger surface area of the material, which has the advantage of taking into account the irregularities of the metal surface and crystal grains. However, the Brinell hardness test is slower than other test methods and will leave a large permanent mark on the test sample.
Rockwell hardness test
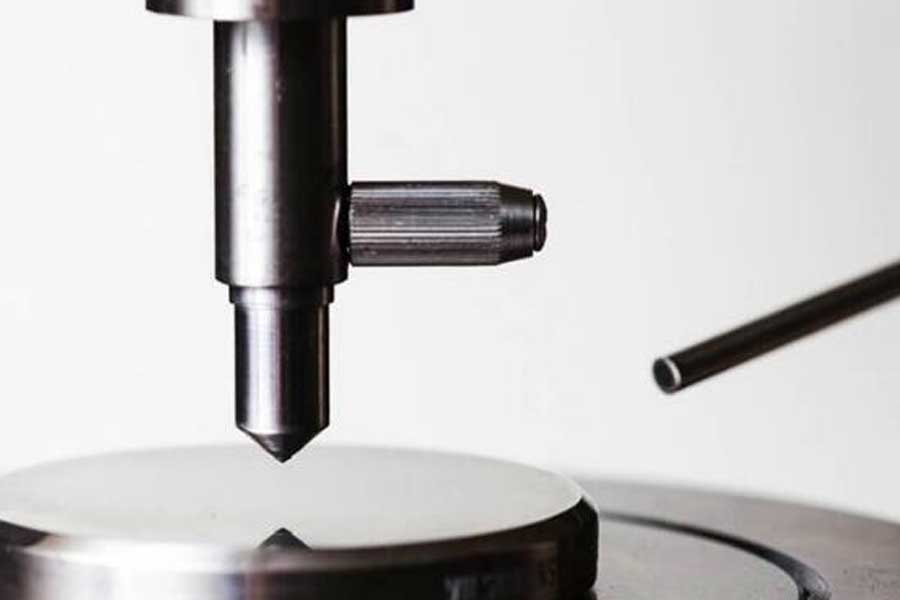
The Rockwell hardness test evaluates the hardness of a material by measuring the depth of permanent indentation produced by applying a concentrated load. The higher the number on the Rockwell hardness scale, the harder the material. The test is performed by using a diamond cone or a steel ball indenter to apply a small force of 10 kg on the surface of the material. The indentation depth of the preliminary load is recorded and used as a reference point.
Then apply the specified main load within the specified residence time, and further press into the test sample. The difference between the reference position and the indentation depth caused by the main load is calculated and recorded as the permanent indentation depth.
Rockwell hardness is calculated by the following formula:
Rockwell hardness, HRC = [0.2-permanent indentation depth (mm)] x 500
The Rockwell hardness test was developed to be less destructive and lower cost than the Brinell test. Using different depths to measure hardness helps eliminate errors caused by surface defects. In addition, the hardness value can be read without additional optical equipment, which makes it one of the most common hardness testing methods.
Vickers hardness test
The Vickers hardness test involves the use of a quadrilateral pyramid indenter to apply a precisely defined constant force to the sample to evaluate the surface area of the indentation. The specimen is first lifted until it comes into contact with the indenter. Then the indenter applies the test force to the sample and slowly increases until it reaches the specified value. Then maintain this force for an appropriate residence time and calculate the surface area of the diamond or square indentation.
Then use the following formula to calculate the Vickers hardness of the material:
Vickers hardness, HV = applied test force (kg force) ÷ surface area of indentation (mm2) or, HK=1.854 x (F/D2)
By using diamond indenters instead of spheres (such as Brinell and Rockwell hardness testing), Vickers hardness testing can use less force and achieve higher accuracy. By magnifying the surface of the metal being tested, the test can be used to lock in microstructure components such as martensite or bainite. Because the Vickers hardness test requires the use of optics and measuring equipment and material preparation, the cost is often higher than other hardness tests, and it takes longer to complete than the Rockwell test.
Knoop hardness test
The Knoop hardness test is very similar to the Vickers hardness test, that is, a diamond/pyramid indenter is used to stay on the test material for a certain period of time. However, the Knoop indenter is a slender diamond, so brittle materials and thin layers can be tested without cracks.
The main diagonal of the Knoop indenter is about three times longer than the Vickers diagonal, and the penetration depth of the material is about half that of the Vickers test, so it is more suitable for testing brittle materials such as ceramics.
The Knoop hardness test produces a trapezoidal indentation, one of the diagonal lines is seven times longer than the other.
Knoop hardness is calculated according to the following formula:
Knoop hardness, HK = applied test force (kg force) ÷ surface area of indentation (mm2) or, HK=14.229 x (F/D2)
Mohs hardness test
The Mohs hardness test is different from the tests mentioned earlier in that it does not involve the force applied through the indenter. This test measures the relative hardness of a material by defining its resistance to scratching by other substances. Developed by German geologist and mineralogist Friedrich Morse, the hardness of a material is determined by observing whether its surface can be scratched by another material of known hardness.
A numerical value is assigned to this characteristic by ranking the hardness table (Mohs hardness table) composed of 10 minerals. The higher the number on the scale, the harder the mineral. For example, if a substance with unknown hardness is scratched by orthoclase but not by apatite, its Mohs hardness is between 5 and 6.
The hardness increment on the Mohs hardness scale is very arbitrary, not linear or proportional. It is for this reason that most of these tests are only used to determine the relative hardness of minerals, not to other materials, such as metals.
Summarize
In terms of defining the hardness of materials, there is no universal measurement method, scale or unit. , Each test method has its own unique arbitrary scale to define the hardness. Understanding the advantages and disadvantages of each test is the key to determining which method is best for the material being tested.
Link to this article:5 methods of measuring the hardness of materials and their technical differences
Reprint Statement: If there are no special instructions, all articles on this site are original. Please indicate the source for reprinting:https://www.cncmachiningptj.com/,thanks!
 3, 4 and 5-axis precision CNC machining services for aluminum machining, beryllium, carbon steel, magnesium, titanium machining, Inconel, platinum, superalloy, acetal, polycarbonate, fiberglass, graphite and wood. Capable of machining parts up to 98 in. turning dia. and +/-0.001 in. straightness tolerance. Processes include milling, turning, drilling, boring, threading, tapping, forming, knurling, counterboring, countersinking, reaming and laser cutting. Secondary services such as assembly, centerless grinding, heat treating, plating and welding. Prototype and low to high volume production offered with maximum 50,000 units. Suitable for fluid power, pneumatics, hydraulics and valve applications. Serves the aerospace, aircraft, military, medical and defense industries.PTJ will strategize with you to provide the most cost-effective services to help you reach your target,Welcome to Contact us ( [email protected] ) directly for your new project.

- 5 Axis Machining
- Cnc Milling
- Cnc Turning
- Machining Industries
- Machining Process
- Surface Treatment
- Metal Machining
- Plastic Machining
- Powder Metallurgy Mold
- Die Casting
- Parts Gallery
- Auto Metal Parts
- Machinery Parts
- LED Heatsink
- Building Parts
- Mobile Parts
- Medical Parts
- Electronic Parts
- Tailored Machining
- Bicycle Parts
- Aluminum Machining
- Titanium Machining
- Stainless Steel Machining
- Copper Machining
- Brass Machining
- Super Alloy Machining
- Peek Machining
- UHMW Machining
- Unilate Machining
- PA6 Machining
- PPS Machining
- Teflon Machining
- Inconel Machining
- Tool Steel Machining
- More Material

